
This article accompanies a project on Thingiverse, a repository of 3D models for people to download and 3D-print.
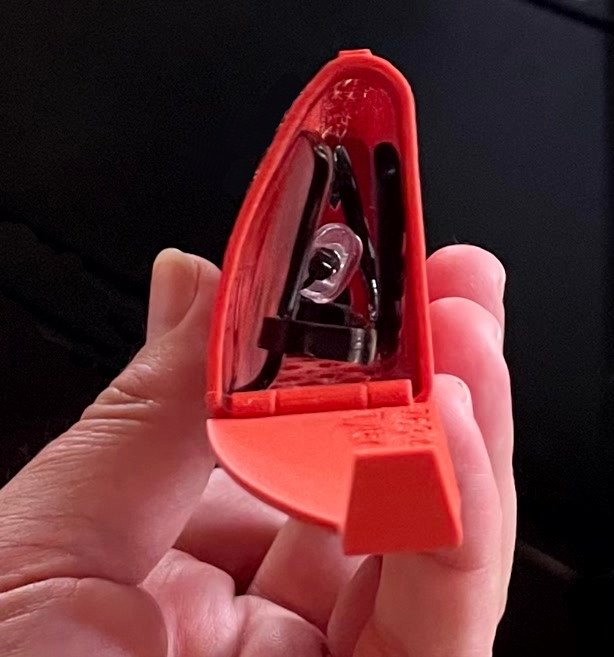
The design is a glasses case with a hinged, snap cover. The case is custom-sized to snugly fit a pair of compact reading glasses, by default, but may be customized to any size. The inside of the cover may also have text engraved in it, such as your phone number so people can contact you if you lose the case.
The process to print one of these for yourself is:
- Use the OpenSCAD Customizer to customize the design and create an STL file.
- You can do this either online at Thingiverse.com, or
- Download the script, install the free OpenSCAD software on your computer, and execute the script locally on your PC.
- Once you have the STL file, either:
- Give it to someone who can print it for you (my local public library will do this free of charge). Please make sure whoever does the printing reads the printing instructions below.
- Or, slice and print it yourself. Instructions for this are below.
Using the Customizer on Thingiverse
To create a customized STL file of this design, go to the Thingiverse project page linked above, and click the Customize button. There, you may enter field values to customize your model.

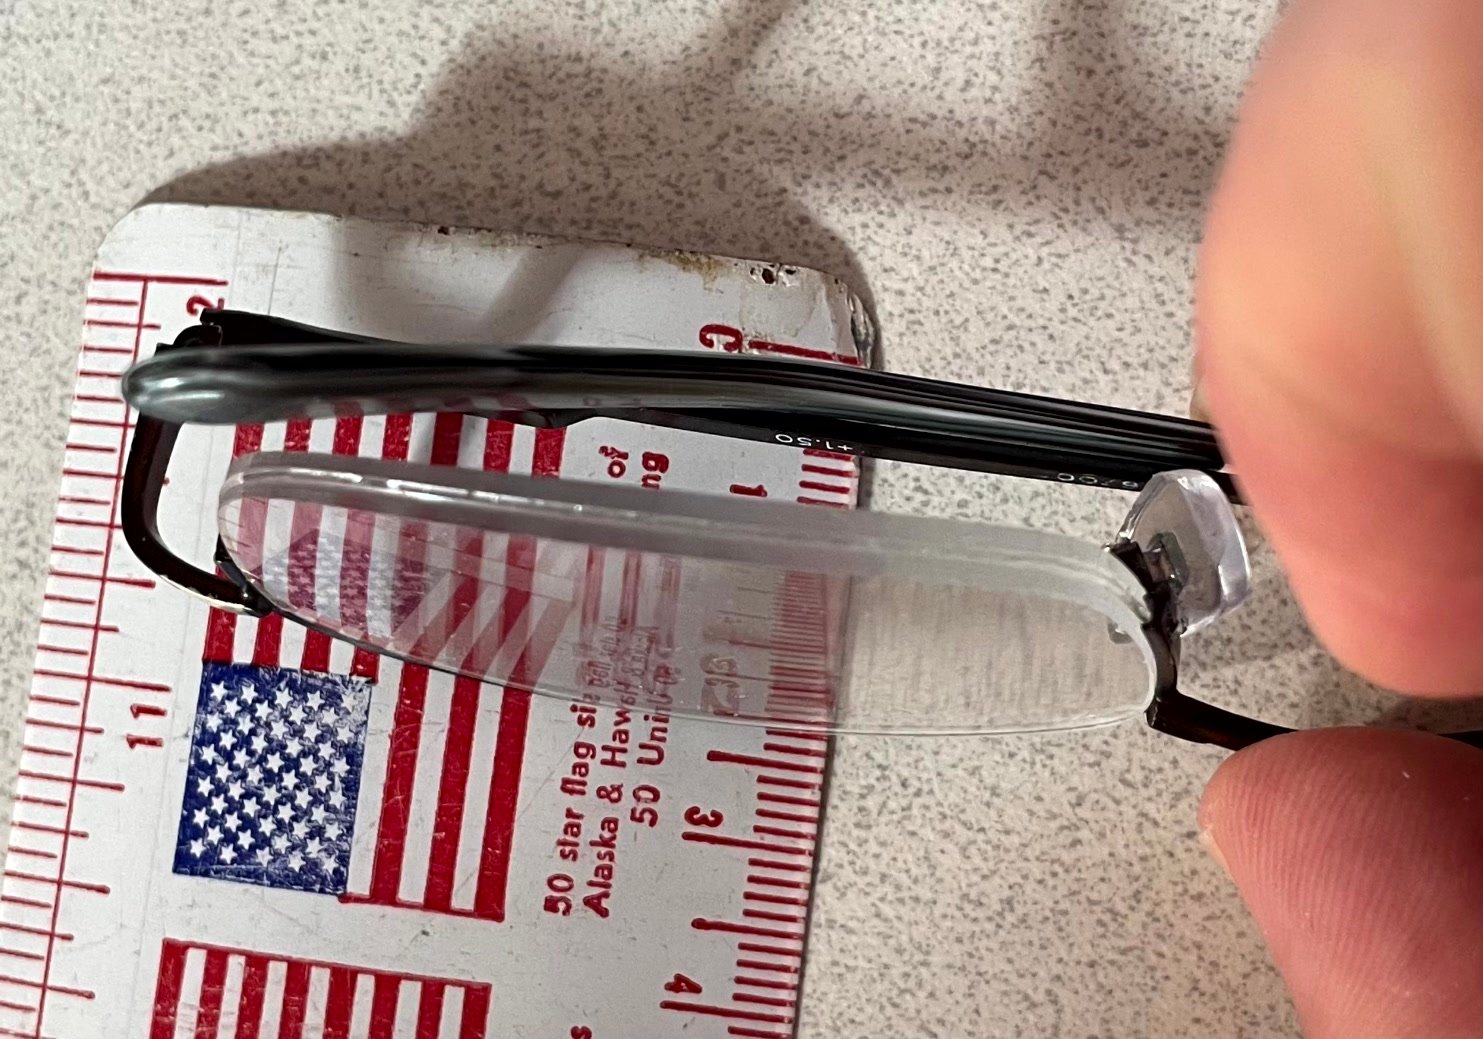
All measurements are in mm If you have inches, multiply by 25.4. These measurements control the inside dimensions of the case. You need three dimensions for the glasses: depth is the thickness of the glasses when you fold them up and compress them slightly, as they would be if you put them into a soft sided case.
In this case, 23 mm ought to do it, 24 to be safe.
The height measurement refers to the distance from top to bottom of the glasses, including the stems. Glasses are springy, so you can be pretty tight with the tolerance here, also. However, the hinge protrudes 2.5mm into the opening, so there needs to be enough leeway to get them past that point.
These glasses should fit pretty well if the case is 40mm high.
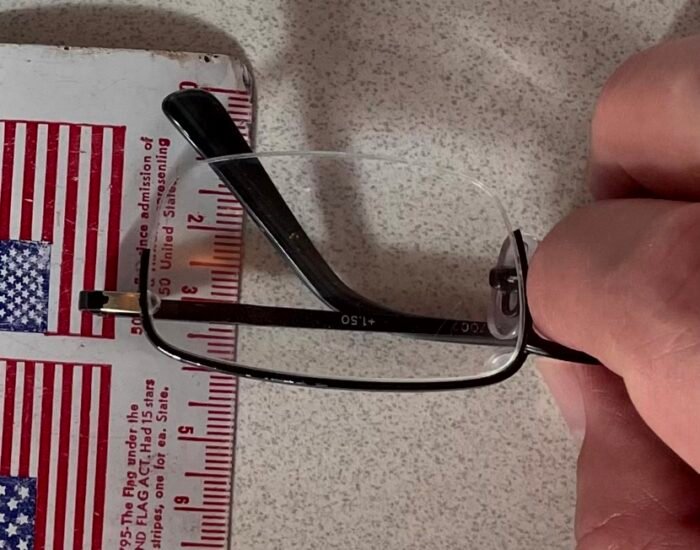
And the length is the side-to-side measurement at the widest point.
Any text you enter in the “Text inside cover” lines will be imprinted inside the cover. Whether your text fits depends on the height measurement you entered, and on the amount of text. You can control the character size using the Text Scaling field. It may be hard to make out the text in the Customizer preview, but click the up arrow button a couple of times and you should be able to see whether it fits.
There’s a field (not shown) to select whether to make the sides solid or have holes in them as shown here.
There’s also a gray cutout on the preview showing the hole that the glasses will have to fit through to slide into the case. I intended that people should be able to zoom it to 1:1 scale with the real world and hold up the glasses to the screen as a check on their inputs, but this interface doesn’t seem to have a way to zoom. I suppose you could change the browser magnification or screen-shot the preview and… or, just trust that your measurements were accurate.
Use the Create button to make a new Thingiverse object from the STL file resulting from your chosen settings. You will not be able to further customize this “snapshot”, but you can download it and print it, as described below. I ask that you not “publish” your derived design, per the copyright terms.
Using the Customizer on Your Own PC
If you wish, you can install the free OpenSCAD software and use it to play with the settings — and the source code — locally. This is more straightforward if you need to try multiple versions, and so you can see the test square life-size on your screen.
To obtain the source code, visit the Files tab of the project page, where you’ll find a download button. Open the single SCAD file in the OpenSCAD software.
If the Customizer pane doesn’t display automatically, use the Window menu to unhide it. The directions for measurement and for filling in the customizer fields are the same as in the previous section. When you have it the way you want,