This is the sheet I wish Sovol had put into the box for people new to 3D printing and those unfamiliar with the specific printer.
Don’t use the slicer program that comes with the unit
The free PrusaSlicer program is my preference. Among other features it offers, you can manually paint on or remove supports. It’s impossible to print some things without this ability.
Other people have their own favorites, but one thing that’s clear is the Sovol-supplied program is inferior.
Don’t touch the PEI plate with your hands
Only touch the little grabby bits at the front, with the fingerprint icon on them, handle it by the edge, or use gloves or a cloth. If you do touch it, clean it before your next build.
The surface where your print rests on the plate is crucial. The print must adhere the whole time you’re building it. If the plate is dirty or has any oil on it from your hands, that will interfere with adhesion of that all-important first layer.
Let the plate cool before trying to remove your print
I know, you want it right away, but it will come off much easier if you let the build plate cool to something approaching room temperature.
Use a medium-ish nozzle temperature
Read the label on the spool and pay attention to the temperature range. Filaments that are both technically “PLA” don’t necessarily work well at the same temperature. First try a number somewhere in the middle of the range.
Plate temperature of 60C seems to work for all PLA
So far that’s all I’ve tried.
If your part detaches during printing or curls up at the corners/edges
The problem, in decreasing order of probability, is:
- The build plate is dirty. Clean it with isopropyl alcohol (a.k.a. rubbing alcohol) and a lint-free cloth. This makes an amazing amount of difference. A lot of websites tell you to use dish soap but trust me, I’ve tried both and with this particular plate, isopropanol does a far better job.
- The nozzle temperature is too high or low.
- The build plate needs to be leveled and z-axis adjusted.
- If you notice this happening with larger prints only, the problem is probably still the nozzle temperature, specifically too low. For a bigger print the first layer takes more time to print, which gives the parts of that layer that were printed first, more time to loosen slightly as they cool and then just sit there. Additional layers, if added in time, stiffen the model so that it doesn’t matter so much whether the adhesion is really secure — it still remains flat. But if it takes too long to get that second layer on…
Filament management
Keep it dry. PLA filament is especially apt to soak up moisture from the air. If you live in Arizona you may be all right. Others need to put filament in sealed bags or other airtight storage to keep them dry when not in use. The reels generally come packed with little bags of dessicant, and you can keep those with them but they don’t last forever.
If you’re not printing for a while, take the reel off the machine and store it. The bit between the print head and the reel is in open air and especially apt to soak up moisture since its whole surface is exposed, and that’s the filament that will be used to make your crucial first layer.
Cracking sounds while printing are a sign that your filament might be moist. Sloppy-looking builds and poor adhesion are symptoms of this problem. The filament may become brittle and in extreme cases might even break during printing.

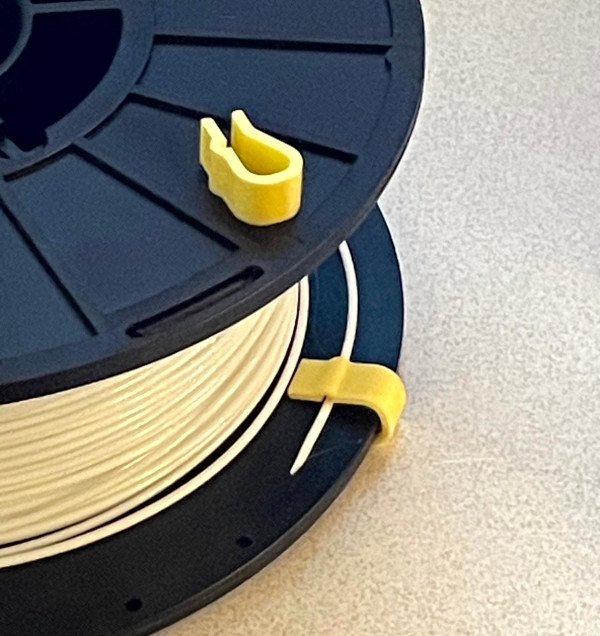
Control the end. If you let the end of the filament flop back onto the reel any old way, it’ll be hard to find when you want to use it. There’s also a very good chance it’ll get tangled. If this happens and you don’t notice it when you start a print, it’ll eventually get bound up and stop unreeling, which will ruin your print. So when you remove a spool from the machine, tuck the end somewhere safe. You might shove it through a hole in the spool so it sticks out the side, or print yourself some clips to tuck the loose end under. I use this clip design for thicker-edged spools like those from 3D Universe, and this clip for thinner-walled spools. I have several of each on hand, color coded, and will print more as I need them.
There are of course many other clip designs out there — you might find one you like better.
Don’t just cut open new bags of filament
A lot of them are resealable if you open them the right way.
Make a copy of the contents of the SD card
The micro SD card that comes with the unit will likely fail. Make a backup of its contents.
Also, get another SD card because if (when) the first one does fail, you’re stopped until you replace it.
What is the USB port for?
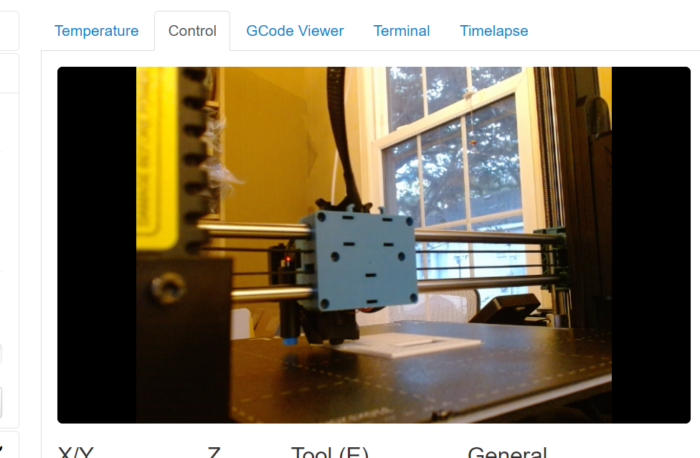
Chiefly, I use it to hook up an OctoPrint server to control the machine. This lets me sit at my desk and start a print, much as I would with a paper printer. It’s so much nicer than having to mess with SD cards and be swapping them out all the time.
The port is also used for updating printer firmware.
You can also attach a camera to the port to do time lapse video of the build or monitor progress remotely (a “Beagle” camera was suggested). If you use OctoPrint you can instead attach the camera to the OctoPrint server, letting you both control and monitor the print.
OctoPrint tips
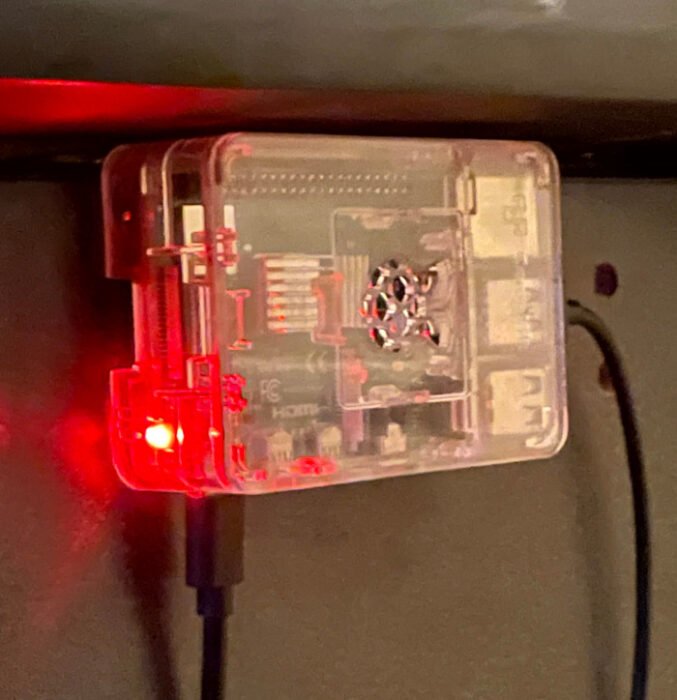
An OctoPrint server is a separate device that attaches to your network so that you can issue prints and monitor their progress remotely and without having to mess with SD cards. You still need an SD card in the printer, because it needs a place to temporarily store a copy of the GCODE file it’s printing. But you can just leave the same one in there all the time.
- The OctoPrint software typically runs on a Raspberry Pi computer, about the size of a pack of cards. This kit from Best Buy works for me (and is the best price I’ve found).
- It connects to your network either with a wired LAN connection or via WiFi.
- Despite the prefix, there’s no connection I can find to the number 8. I think they just wanted an excuse to refer to the server as “OctoPi”.
- One server controls one printer. If you’re a tech guru there are ways to make one control several, but these little boxes aren’t that expensive. I just consider it an add-on module that gives the printer an ability that should be built in, as it is with paper printers.
- It’s not hard to set up. Just follow the instructions on the download page. I’ve found the “Raspberry Pi Imager” option is by far the easiest. This is where you supply the WiFi password.
- If you need to change something later (e.g. change the WiFi password), it is possible to hook up a screen, keyboard, and mouse to the ports on the box and edit settings. But I find it easier to pop out the SD card which is the server’s hard disk, and re-image it using the Raspberry Pi imager.
Inserting a pause in the print
The PrusaSlicer and many other programs have an option to tell them to pause before printing a given layer of your part. This is intended to let you insert foreign objects into the print — for instance, a magnet or ball bearings. You then press a control on the printer to resume printing, covering the object with more layers to embed it into the part.
The PrusaSlicer program, and many other slicers, use the code M601 in the GCODE data to tell the printer to perform this action. However, Sovol printers don’t recognize this code. For Sovol you must instead use M125. You can insert this command using a “Custom Gcode” from the slicer program, e.g.:
;PAUSE PRINT (custom for Sovol)
M117 Place bearings in slot. (or whatever message you want it to show you)
M125
There’s a separate option to pause for the purpose of changing filament rolls, which uses the command M600. This works fine as is — no need for custom code there.

